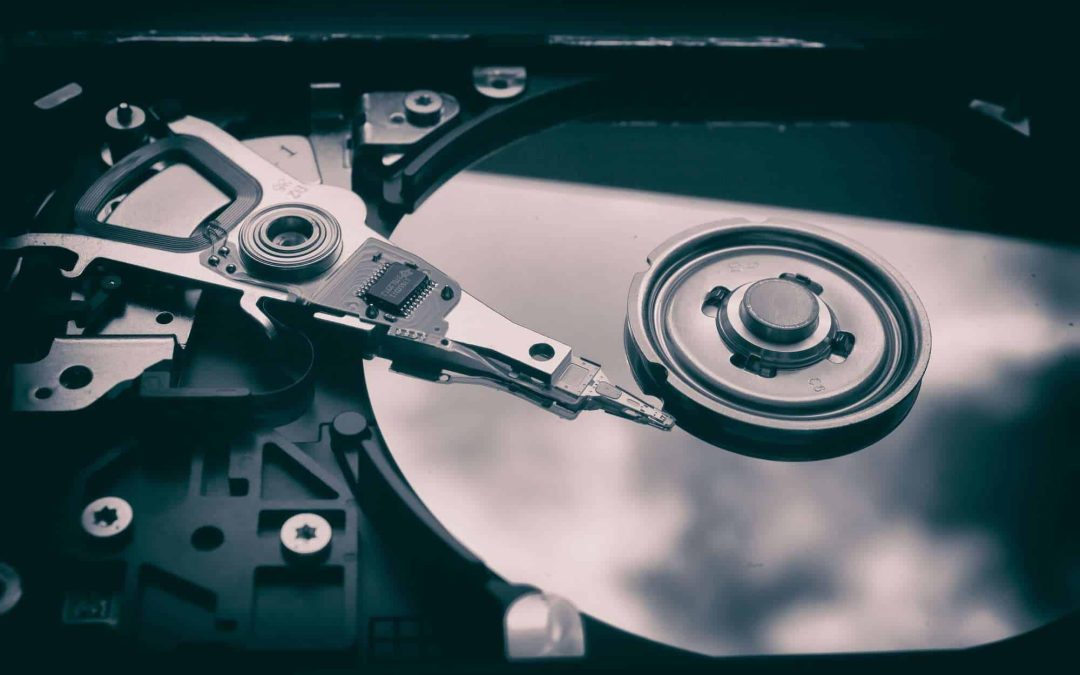
We get a lot of questions about what type of computer a client should purchase because their computer is slow and old. Did you know that changing your hard drive can make a world of difference? You don’t need to purchase a new computer just because your computer is old or slow. We’re going to show you how to do it yourself. And while you’re at it, save you lots of $$. Note: Artillery Media is not responsible for any damage to your computer while changing your hard drive. Continue at your own risk. Additionally, we cannot guarantee support on any questions.
Why do I want to do this?
1) Speed. Your computer is super slow. But it’s not worthless and you don’t necessarily need a new one. You can save upwards of $2,000 by changing your own hard drive. Changing out your old hard drive for a brand new hard drive will make your computer 10x faster.
See our laptop BEFORE the upgrade. It takes almost 30 seconds to open Chrome and load Facebook:
Now compare that to our laptop AFTER the upgrade! It takes only 6 seconds to open Chrome and load Facebook!
2) Security. When you upgrade hardware, you’re less likely for your computer to crash. But make sure you back up on a regular basis!
What do I need to get started?
This and this. For our example, that’s it! If you want to go to your local hardware store you should be able to find the screwdriver there for pretty cheap. (Note: For this example, we’re working with a Late 2011 13″ MacBook Pro. Please consult the proper parts for your specific machine.)
Getting Started.
Check out steps below:
Note: Artillery Media is not responsible for any damage to your computer while changing your hard drive. Continue at your own risk. Additionally, we cannot guarantee support on any questions.
1. Back up your computer via Time Machine
Where is my Time Machine? We got you.
Go to “System Preferences > Time Machine”

Back-up computer via Time Machine and your external hard drive. If you have never done this before, check out this article.

2. De-authorize all programs that are paid programs.
This could be programs like Reason, Find My Mac, Microsoft Office, Photoshop, etc.
3. Log out of iCloud

Sign out of your iCloud account.

4.COMPLETELY shut down computer and unplug from charger

5. Unscrew backplate
Keep all the tiny screws in some sort of contained area so that they do not get lost. Notice how 3 of the screws are bigger than the others. They should be the ones at the bottom right-hand corner of your computer. These will need to be placed in the same place when reattaching the plate.

Remove black bar

Remove ribbon cable from old hard drive

6. Remove old hard drive and put in new hard drive.
Remove all 4 screws from old hard drive and transfer them to the new hard drive


*replace ribbon*
7.Screw backplate back on

Screw big 3 screws in first.

8. Reboot holding Command + R, partition hard drive, and restore computer from Time Machine backup
This step could be the most tricky… It involves partitioning your computer. Check out this video and skip to 7:40.
9. Enjoy an exact replica of your old computer but up to 10x faster! All the while, knowing you saved yourself a lot of money.
We also ask you provide feedback as it helps us improve. Thank you!!